

Best Cake Tins Guide: The Secret to Perfect Baked Cakes
Choosing the best cake tins is crucial for achieving perfect baked cakes every time. In this guide, you’ll learn how to select the ideal material, understand the different sizes available, and discover essential tips for preparing your tins to ensure flawless results. Plus, we’ll provide a simple vanilla sponge cake recipe to get you started on your journey to baking perfection.
Understanding Cake Tin Sizes
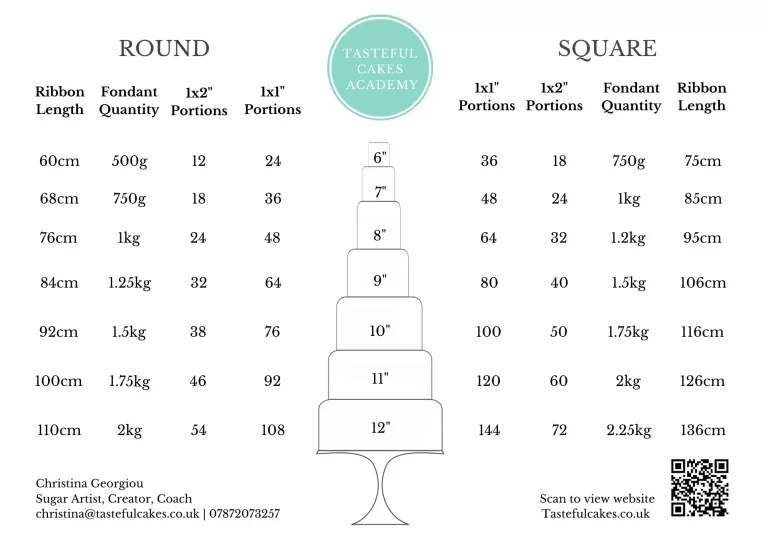
Cake Portion Per Tin Guide:
Cake tins come in various sizes, typically measured in inches or centimetres. Here’s a breakdown of the most common sizes and their uses:
- 2″ Cakes: Mini cakes, ideal for individual servings or alongside cupcakes.
- 4″ (10 cm) Cake Tins: Bento cakes are typically 4” in size, fitting perfectly alongside beautifully decorated cupcakes, designed as a nice treat for one person.
- 5″ Cake Tins: Perfect for the top tier of wedding cakes or for small occasions but tall cakes.
- 6″ (15 cm) Cake Tins: Ideal for small celebration cakes or multi-layered tiered cakes.
- 7″ (17.5 cm) Cake Tins: Great for medium-sized cakes and my personal favourite. I love a 7” cake with 5 1” layers, giving the same amount of portions as an 8” cake but adding more height, making it more trendy and showing the difference of a professional cake rather than a standard shop-bought one.
- 8″ (20 cm) Cake Tins: One of the most versatile sizes, great for standard celebration cakes.
- 9″ (23 cm) Cake Tins: Suitable for larger cakes, perfect for parties and gatherings.
- 12″ (30 cm) Cake Tins: Best for large event cakes, including weddings and big celebrations.
If you’d like to know the portion sizes and how much fondant and ribbon for each cake tier, download our quick cake sheet here.
If you’d like to know the portion sizes and how much fondant and ribbon for each cake tier, download our quick cake sheet here.
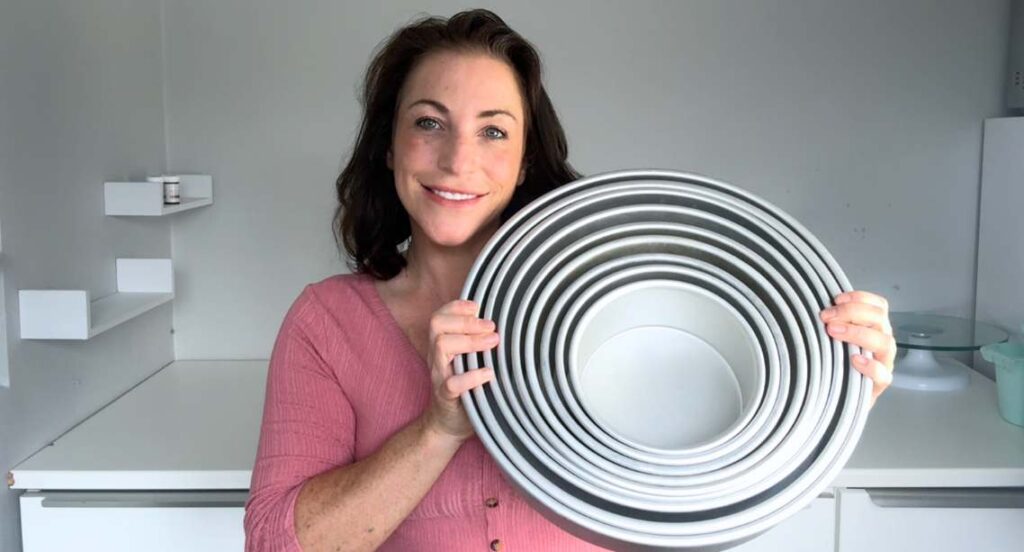
Why Aluminum Cake Tins Are the Best
I won’t use anything else! I dumped my metal cake pans and opted for aluminum cake tins. In my opinion, they are the best cake tins to use for making celebration cakes, and here is why:
- Even Heat Distribution: Aluminum conducts heat more evenly than other metals. This means no more overcooked edges and undercooked centers. Say goodbye to those hard, dried-out crusts!
- Ease of Cleaning: Cleaning these tins is a breeze—soak, wipe, and rinse, and they’re ready for the next bake. No more scrubbing away stubborn cake residue!
- Lightweight and Durable: These tins are lightweight yet durable, making them easy to handle and store, so you won’t be stressed about heavy or flimsy pans.
Recommended Cake Tins: The Best Choices for Baking Celebration Cakes is PME Cake Tins!
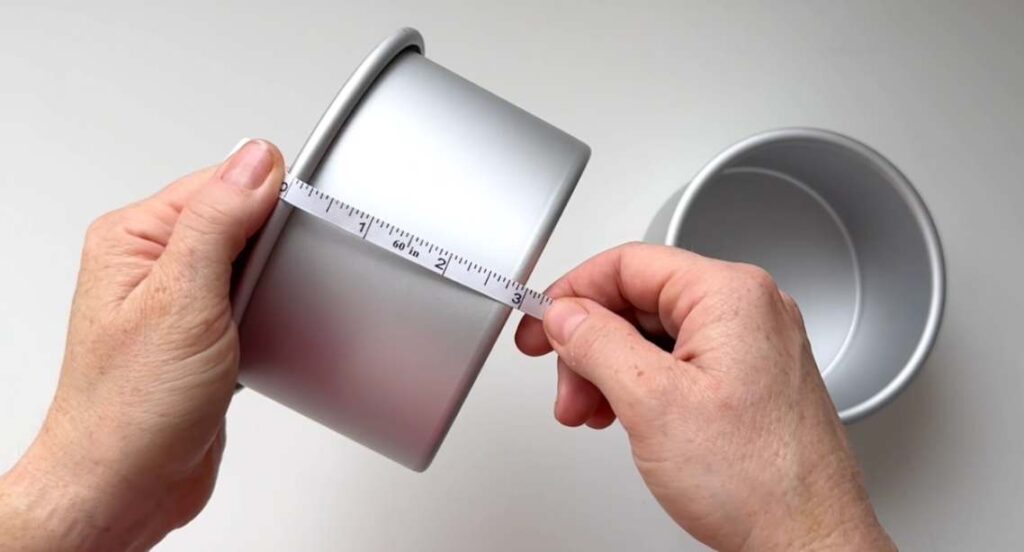
For the best baking results, we recommend using PME aluminum cake tins. They are known for their high quality and durability. You’ll need two 3 inch deep pans of each size you use most frequently, so collect them over time—great presents for people to get you!
Purchase by clicking the affiliate links below:
- PME 4″ Cake Tin
- PME 5″ Cake Tin
- PME 6″ Cake Tin
- PME 7″ Cake Tin
- PME 8″ Cake Tin
- PME 9″ Cake Tin
- PME 10″ Cake Tin
- PME 12″ Cake Tin
Optional: Yumatch Removable Bottoms: These have a great deal and removable bottoms, but I haven’t used them personally, so I can’t vouch for the quality.
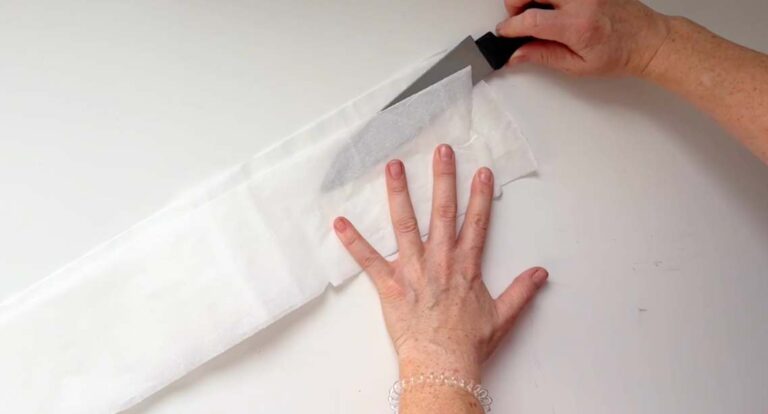
How to Line and Prepare Your Cake Tins for Perfect Baking
Proper preparation of your cake tins is essential for achieving the perfect bake. Here’s a step-by-step guide:
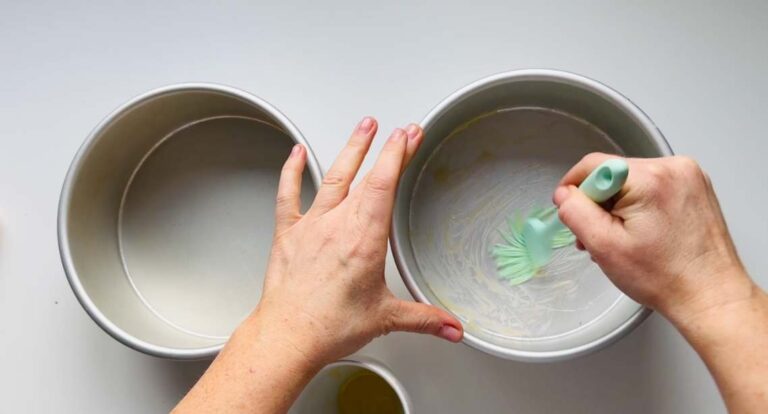
Butter the Tin: Start by buttering the bottom and sides of the cake tin to prevent sticking.
- Line with Baking Paper: Use baking paper to line the sides and bottom of the cake tin for added protection.
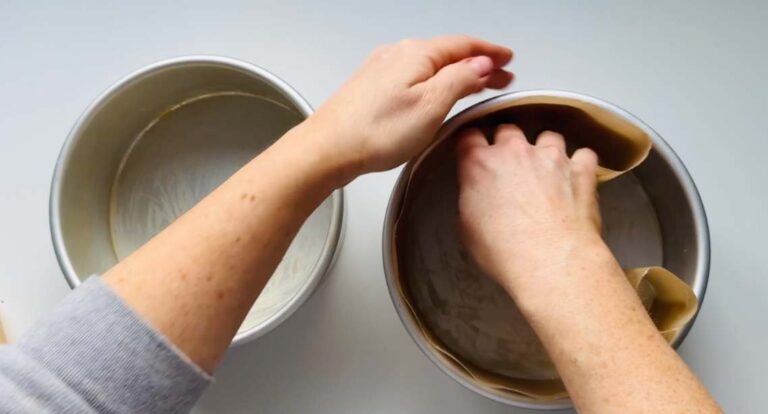
- Quick Cake Hack: Here’s a quick cake hack to line your tins: Pull out a long piece of baking paper, fold it in half, and then fold it again. Run a blade down the creased baking paper, cutting it into long strips. You can then just roll them up and pop them in the drawer whenever you need them. Butter the bottom of your tin and the sides, pull out a baking strip, and line for perfect results every time.
- Leave to Cool: After baking, leave the cake in the cake tin for 10 minutes before releasing to avoid sticking.
Crucial Tips for Different Cake Types Using the Best Cake Tins
Wetter Sponges: For wetter sponges, add baking paper to the bottom of the cake tin.
Using 3×7″ Deep Cake Tins: These are high enough for most celebration cakes. Always split the mixture between two tins; baking your cake in one 4″ tin is too much. Your cake won’t rise as much, resulting in less volume and a denser crumb.
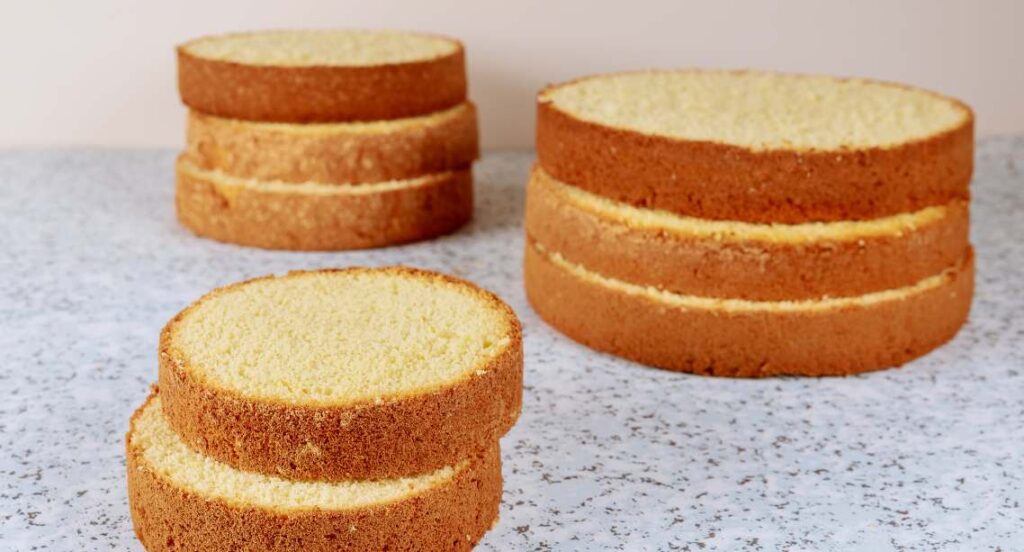
Pâtisserie Gâteaux Cakes vs Celebration Cakes: These are typically baked in 4 x 1″ deep pans. Celebration cakes should be baked at 2.5″ in height, giving you enough height to cut off the top and split into two. This method still gives you four sections of cake, but the cake is denser to hold the weight of decorations, and the sides line up for a much smoother fondant cover. It’s important to know the difference.
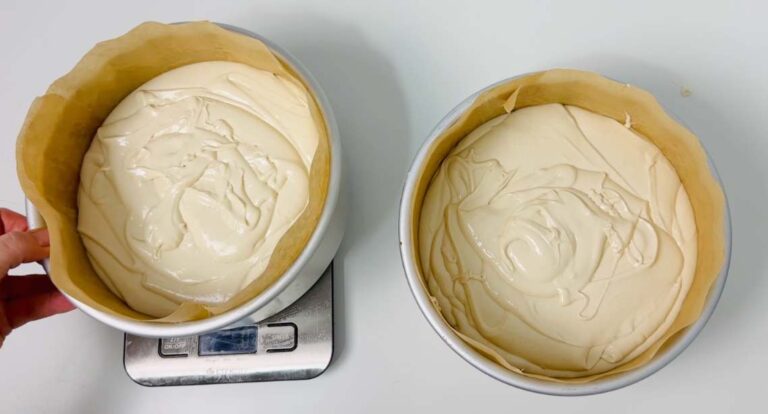
Evenly Split Your Batter: Always split your mixture evenly between two tins—I even weigh them to make sure there is an equal amount. This saves on waste later. Each should be 2.5 inches high when baked. Take the cake leveler and glide it through each baked cake, giving yourself 4 cake layers that match up beautifully. Once stacked and buttercreamed, your cake will be around 5 inches tall—perfect for a celebration cake!
Common Questions: Best Cake Tins, Baking Temperature, and Oven Settings
- What temperature should I bake a cake at? The optimal temperature for baking most cakes is 160°C. This ensures even baking without burning the edges. Slow and steady is better.
- What oven setting should I use for baking cakes? Use the conventional setting for even baking. Convection can be used, but temperatures should be adjusted accordingly (usually reduce the temperature by 25°F).
- How long should I bake a 7″ cake? For a 7″ cake, bake for approximately 45 minutes. Add 10 minutes for each additional cake size thereafter.
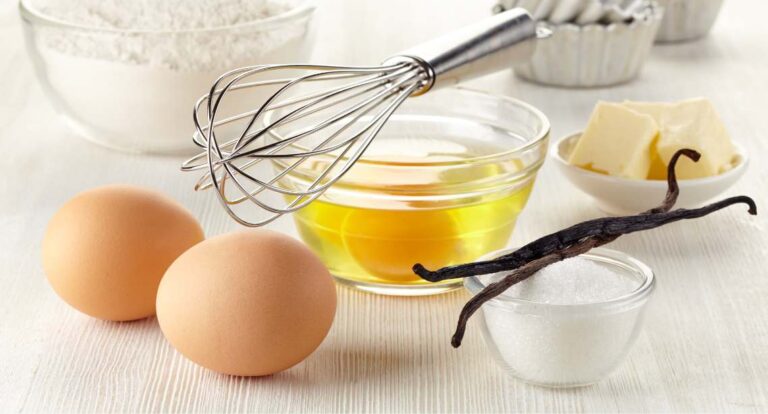
Vanilla Sponge Cake Recipe for Two 7-Inch Tins (4.5 Inches High)
Ingredients:
- 340g self-raising flour
- 340g unsalted butter or baking spread (room temperature)
- 340g caster sugar
- 5 large eggs
- 2 tbsp vanilla essence or flavouring
- 1 tsp vegetable oil
Instructions:
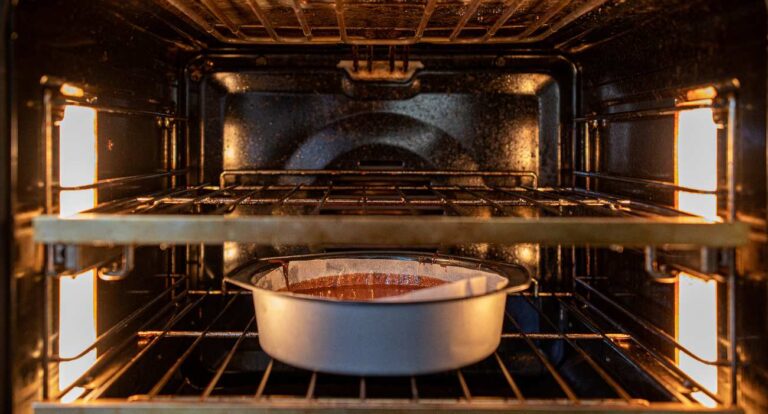
- Preheat Your Oven: Preheat your oven to 160°C.
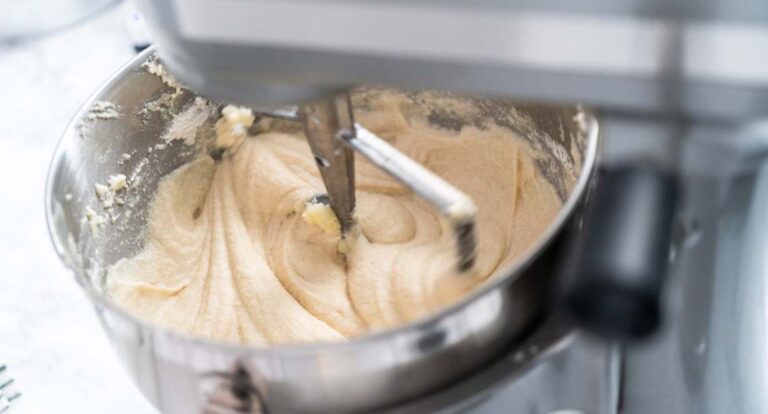
- Cream the Butter and Sugar: In a large mixing bowl, cream the butter and caster sugar together until the mixture is light and fluffy. This can take about 3-5 minutes using an electric mixer.
- Add the Eggs: Add the eggs one at a time, beating well after each addition. Ensure each egg is fully incorporated before adding the next.
- Add the Vanilla and Oil: Mix in the vanilla essence or flavouring and the vegetable oil.
- Sift and Fold in the Flour: Sift the self-raising flour into the mixture. Gently fold the flour into the batter until fully combined, being careful not to overmix.
- Prepare the Cake Tins: Line your 7-inch cake tins with baking paper and lightly butter the sides and bottom.
- Pour the Mixture: Divide the mixture evenly between the two prepared 7-inch cake tins.
- Bake: Bake in the preheated oven for 45 minutes, or until a skewer inserted into the centre of the cakes comes out clean.
- Cool the Cakes: Leave the cakes in the cake tins for 10 minutes before turning them out.
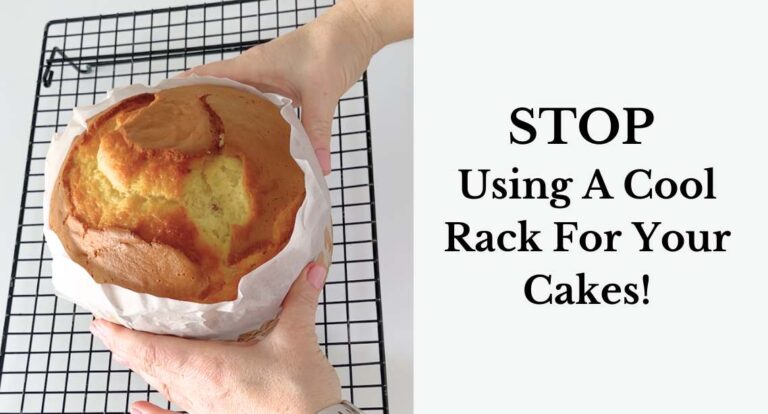
Cake Cooling Tip:
If you’ve struggled to use a cake leveler in the past, it is likely because you’re cooling your cakes on a wire rack! Let’s stop that from today! Instead, leave your cake in the tin for 5-10 minutes. Turn your cake out onto cling film and lightly wrap it so as not to change the shape of your cake when it’s cooled! The condensation will create moisture, and you will end up with beautiful soft sides to your cakes, making sliding through with the cake leveler super easy.

How to Adjust Quantities for Different Cake Tin Sizes Here
To adjust the quantities for different cake tin sizes, you can use the following formula:
Calculate the area of the tins: Area of round tin = π × (radius²)
Example: 8″ tin radius = 4 inches, area = π × (4²) = 50.24 square inches
Adjust the ingredient quantities based on the area ratio:
Example: If using a 6″ tin (area = 28.26 square inches), the ratio is 28.26 / 50.24 ≈ 0.56.
Multiply each ingredient by 0.56 to adjust for a 6″ tin
Alternatively, you can use the BBC Food Cake Tin Size Calculator. For celebration cakes with four layers, it’s best to double the quantities provided by the calculator.
Tips for Baking Success
- Leave cake in the tin for 10 minutes before releasing: This helps prevent the cake from sticking.
- Split the mixture between two tins for better rising: Baking in one deep tin can cause uneven rising and a dense crumb.
- Bake taller cakes in multiple layers no more than 2.5 in height: This ensures a lighter texture and better volume
Additional Resources
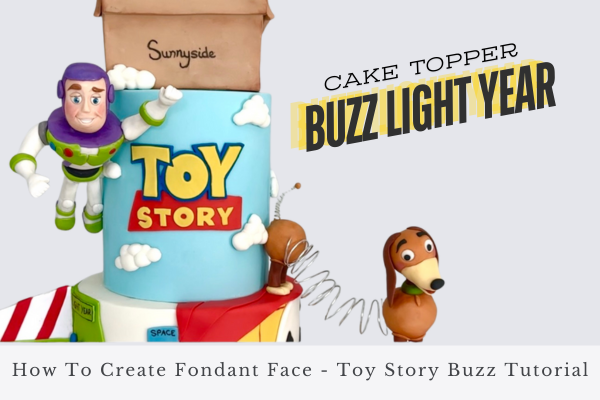
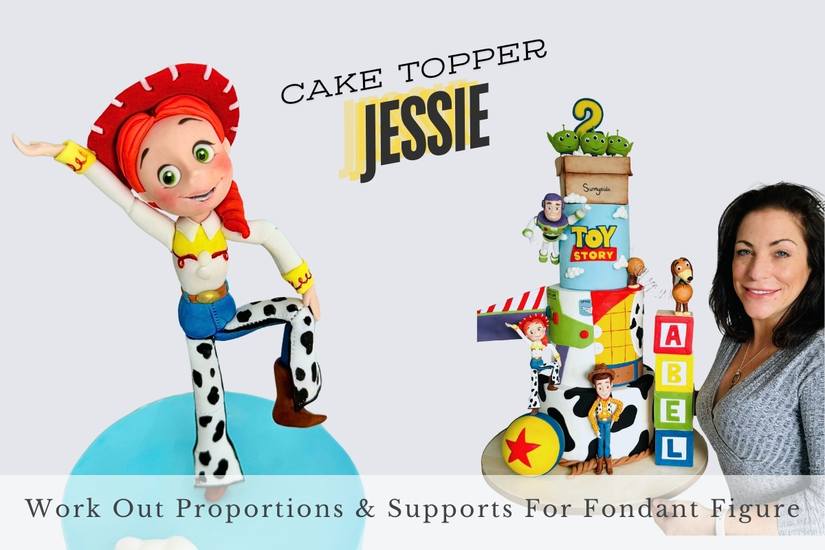
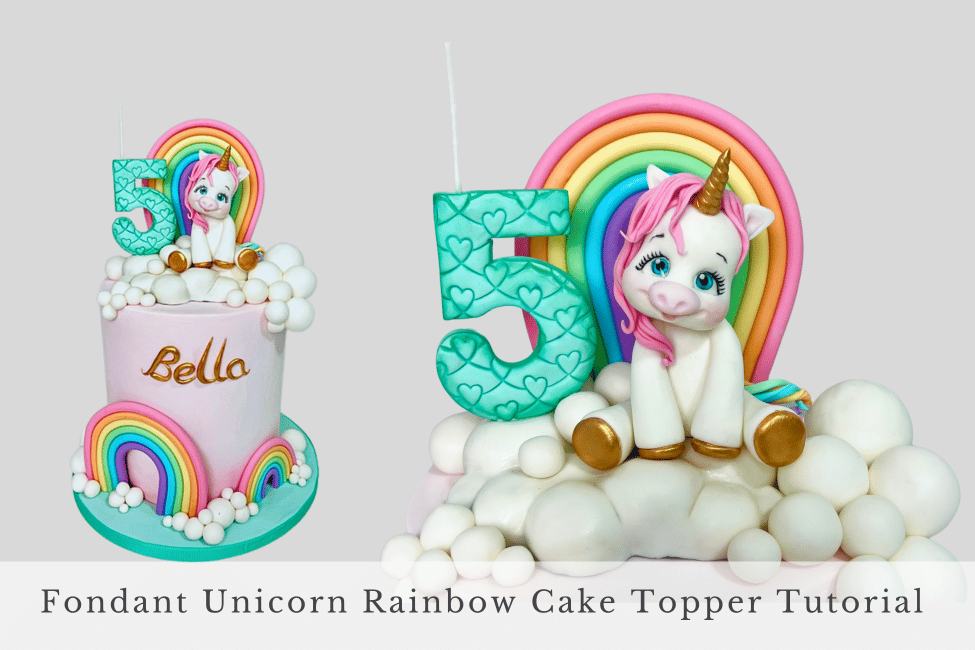
For more detailed tutorials and tips on cake making, including cake decorating techniques and ideas, check out our YouTube channel. We offer a range of video tutorials that can help you perfect your cake-baking and cake-decorating skills.
Cake Making Courses
Subscribe to Become a Tasteful Cakes Insider.
I’ll break down everything fondant-based! Giving you the confidence and skills to create beautifully decorated personalized cakes.
Join our community NOW and receive:
- 15% Off (Limited offer)
One-time offer for all available products and services in your basket. So choose wisely. [Shop Tasteful Cakes]
- 5 x FREE Tutorials
This will rocket start your sugar modelling journey.
- Ultimate Cake Sheet
Every cake maker should have this to hand. It’s your trusty portion, fondant and ribbon quantity guide for each cake size.
- Weekly Updates
We’ll pop you over an email whenever a FREE YouTube Tutorial has been released.


Leave A Comment