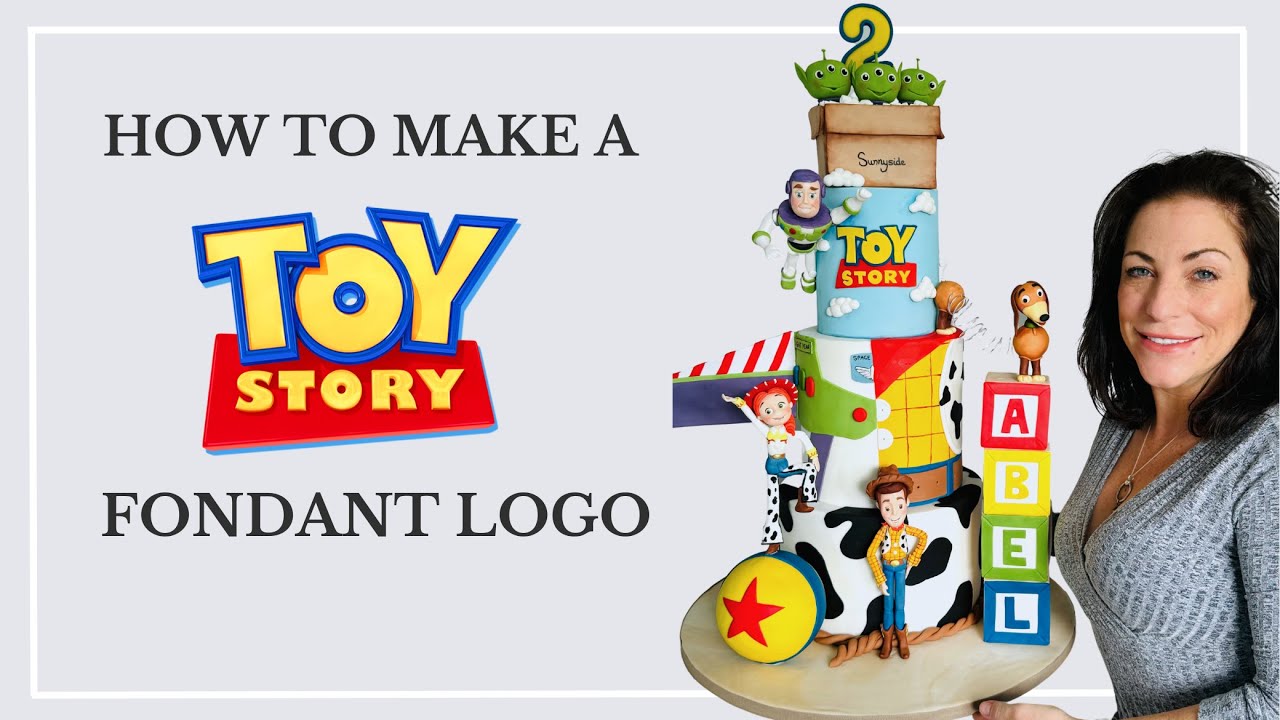
How To Make Toy Story - Buzz Lightyear Cake Topper Tutorial
Hey everyone! This Buzz Lightyear Cake Topper Tutorial is just one of the characters I made for Olivia Bowen’s son, Abel’s cake design, Toy Story-themed “Two Infinity and Beyond.” Of course, I had to film everything so you could create these amazing fondant figures for your Toy Story cake too! 🚀✨
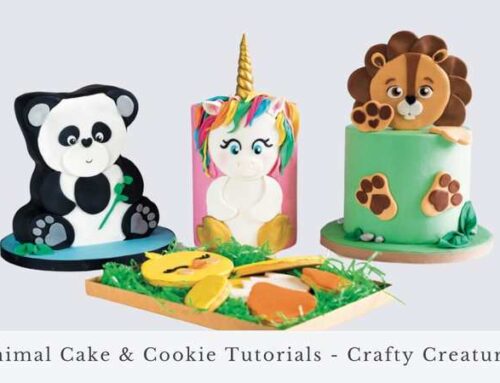
If you want to see other Toy Story character tutorials, check out the playlist on you tube below or the other blogs here.
In this tutorial, we’re going to focus on creating Buzz Lightyear, specifically focussing on how to make a fondant face step by step.
Making faces for fondant figures can be tricky, but with the right tools and steps, you’ll be able to create a perfect fondant face for your buzz which can be applied to other fondant figures.
Materials Needed for This Fondant Figure Tutorial
Before we start, let’s go over the materials you’ll need. You can find links to purchase these items in the description below:
My Favourite Modelling Paste to create fondant figures: AmazonLink
Polystyrene Ball for the body, I usually buy these in different shapes and sizes on eBay.
Craft Knife, for cutting perfect lines in edible paste: Amazon Link
Armature Wires to create movement supports within your fondant figures: Amazon Link
Extra Food Colours to colour your fondant or modelling paste: Amazon Link
Fondant Glue (check out the video here: YouTube Link)
Most of these items are likely to be in your decorating kits, but if not, I guarantee they are well worth purchasing. I only suggest things I 100% cannot live without. Now that you have everything, let’s jump right into it.
Fondant Buzz Lightyear Cake Topper Tutorial for a Toy Story Cake!
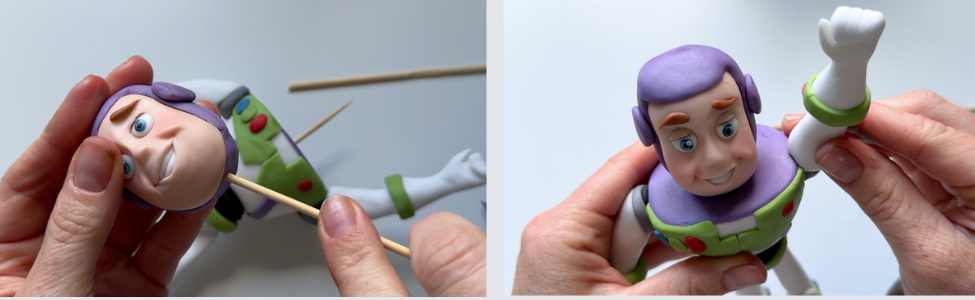
How to Make Fondant Face Step by Step - Buzz Lightyear’s Face!
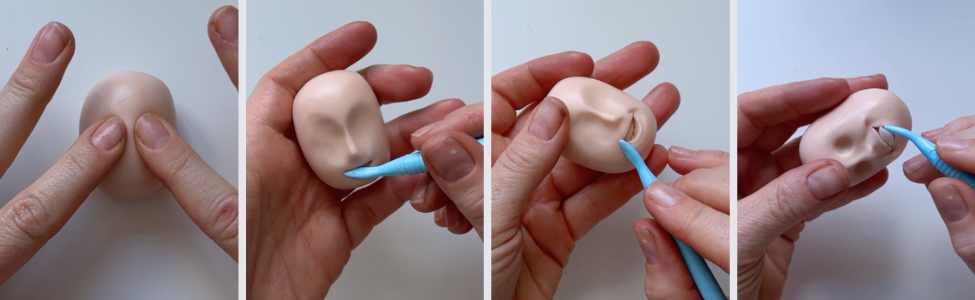
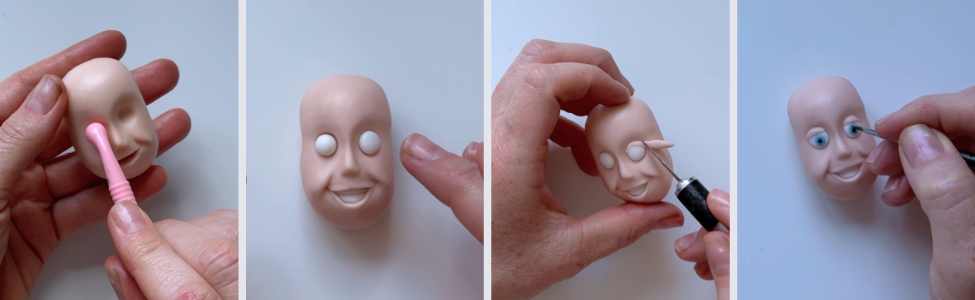
Creating faces can be daunting, but remember, it’s all about breaking it down into simple steps. The FMM tools are an absolute must for creating faces. In fact, I love them so much I collaborated on these tools a couple of years ago, rebranding them, making them totally seamless and rainbow pastel-coloured so you can easily see which is which. Most importantly, I created a video to show you how to get the absolute best out of your double-ended tools and everything I use each end for. You can see that video here:
I use the small bone tool to create the bridge of the nose. The side of the large bone tool keeps everything symmetrical and creates the perfect brow bone. The ball tools create different size eye sockets.
The flat surface of the Dresden tool helps to sculpt the face, creating mouths, the base of the nose, and smile lines. Being seamless means, I can use these easily without worrying about that annoying line embossing areas!
I couldn’t be without these tools. If you’d like to get these tools at a discounted price, check out the description below. Purchase Here
Top Tips for Modelling Fondant Figure Buzz Lightyear
Think About Placement: Consider where Buzz is going to go on your cake. I chose to use a polystyrene ball for the main part of Buzz’s body. I wanted him to look like he was flying through the air against a car. Using a skewer through the polystyrene dummy really helps it grip better and hold firmly when you use fondant glue. If you’re curious about fondant glue, check out this video explaining all about it
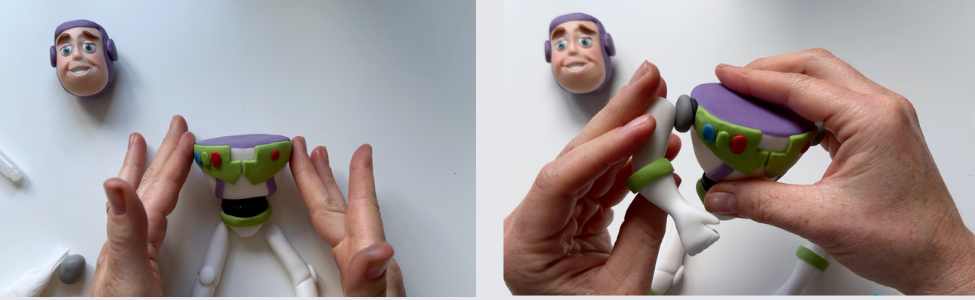
Create Buzz Lightyear in Proportion: Start with the polystyrene ball size, cover this in fondant first, and from there, work out the size of the head, arms, and legs.
New to Modelling? Use Weights and Templates: These can help you achieve the perfect proportions and details. You can get weights and templates in our Sugarcraft Club, which also includes detailed tutorials. Learn More
Assemble with Care: To assemble Buzz’s body, use wires and skewers. Insert them into the legs and arms first, then create a hole in the body for them to slot into. Adding a bit of fondant glue ensures a stronger bond.
Patience is Key: Take your time shaping and reshaping until you get the perfect look.
Practice Makes Perfect: Don’t be afraid to redo parts if they don’t look right.
Easy Fondant Figures for Beginners – Don’t Miss This Step!
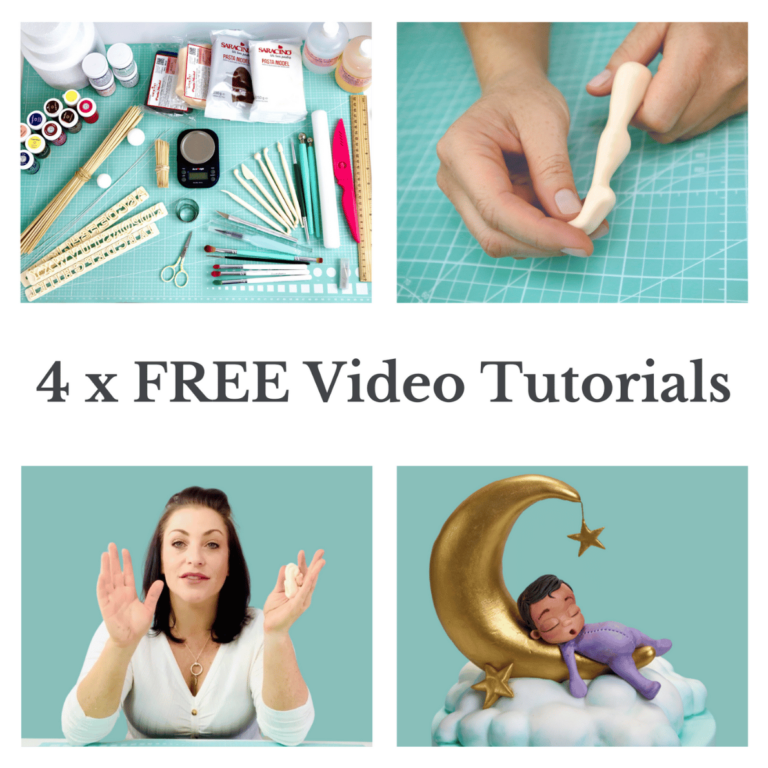
Modeling is just a series of basic shapes and small steps using your hands as tools. If you want to supercharge your modeling skills, you must learn the foundations of modeling first! The materials and tools, creating shapes using your hands as tools, the broken-down steps, and how to make a full project. You can grab your 4 FREE in-depth modelling tutorials here.
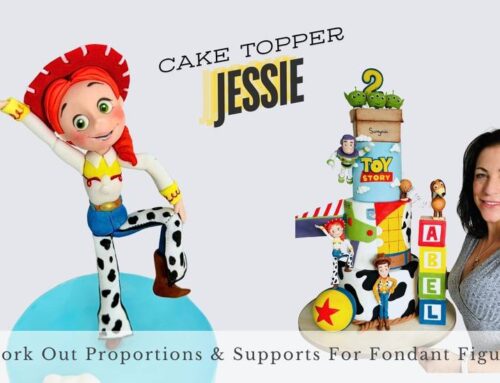
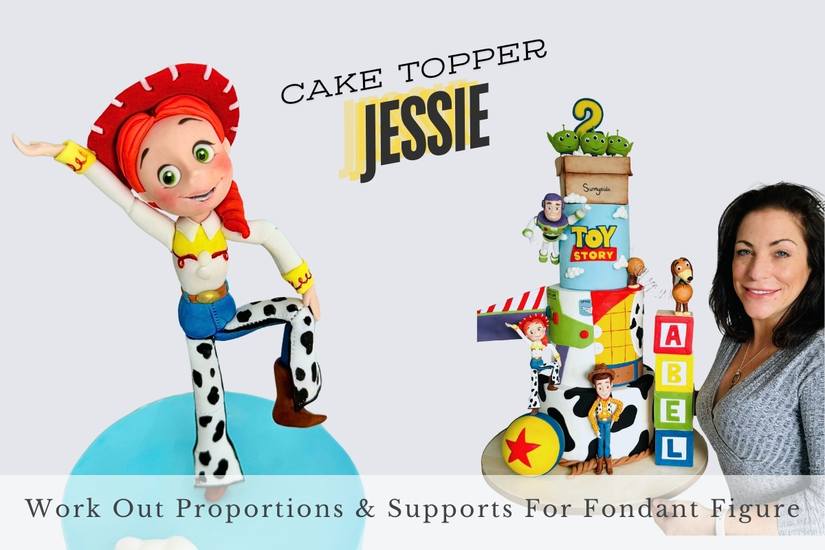
This Buzz Lightyear cake tipper tutorial is just one part of a four-part Toy Story cake series I made for Abel. Be sure to check out the full playlist on my YouTube channel for more tutorials, including Jessie, Woody, and more!
Grab Your Buzz Lightyear Cake Topper Templates at The Sugarcraft Club!
If you want an in-depth tutorial for creating this Buzz Lightyear model, including weights and templates, it’s available in our Sugarcraft Club. Here, you’ll find a slower, more detailed video and access to many other tutorials. Perfect for anyone looking to excel in fondant figure modelling, from beginners to advanced decorators. Don’t miss out on the opportunity to enhance your skills! Join the Sugarcraft Club

 Optimized by Seraphinite Accelerator
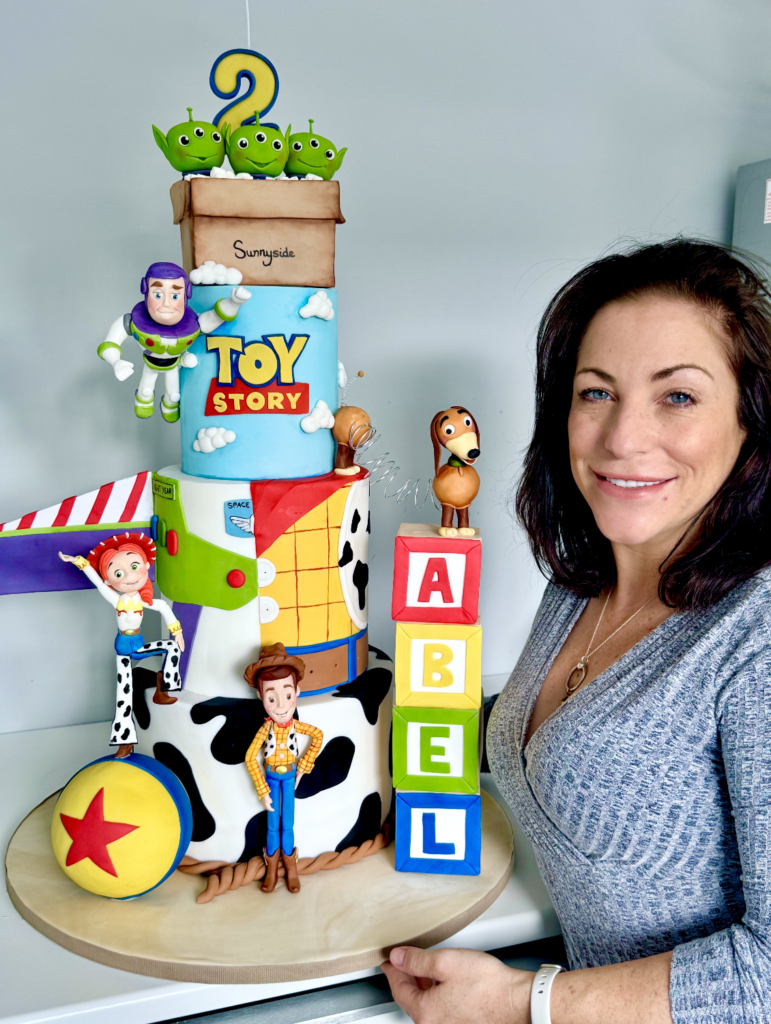


Leave A Comment