
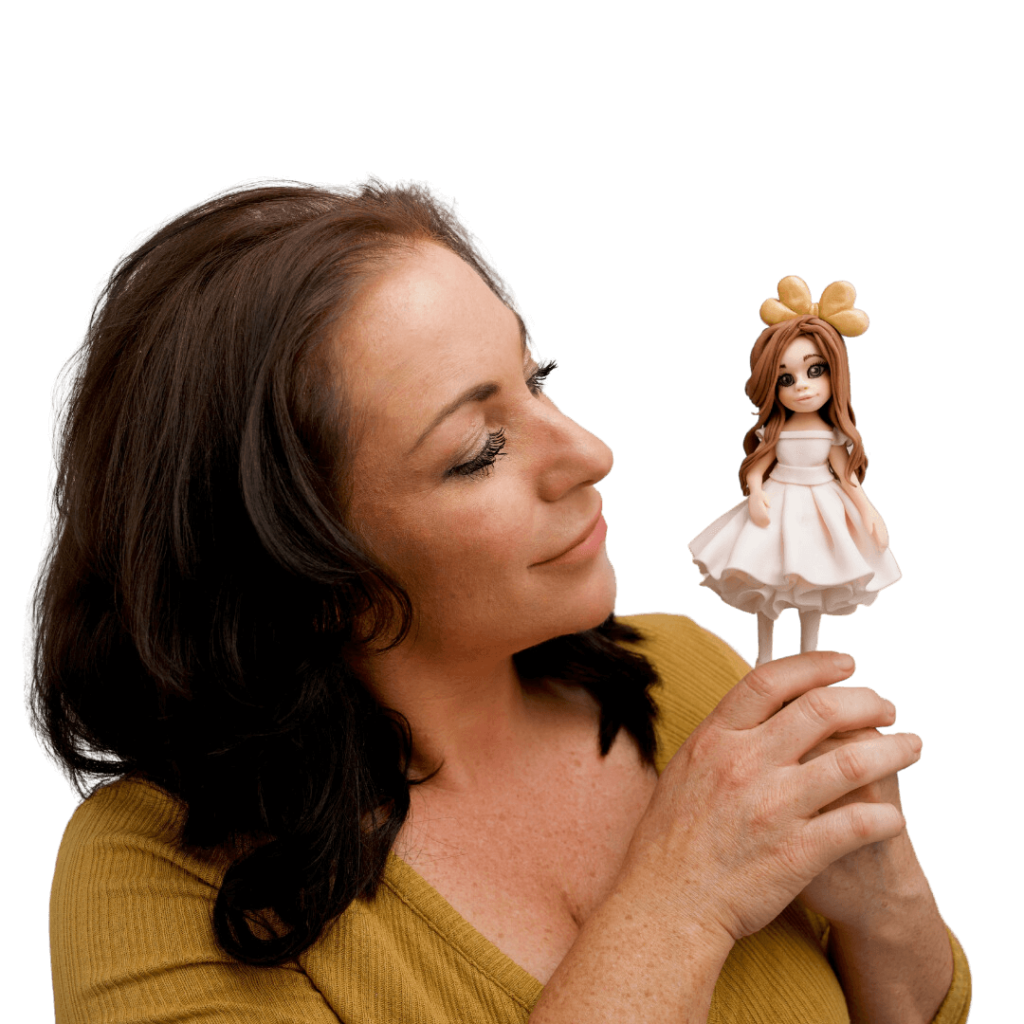
How to Make a Fondant Unicorn Step By Step Guide
Learning how to make a fondant unicorn is a fun and rewarding project that adds a magical touch to any cake. After all, what little girl isn’t obsessed with beautiful coloured or pastel rainbows and the cuteness of a unicorn? I mean, I’m a bit of a tomboy and an adult, and I still can’t help but smile at the prettiness and blend of colour in this beautiful fondant rainbow unicorn cake design!!
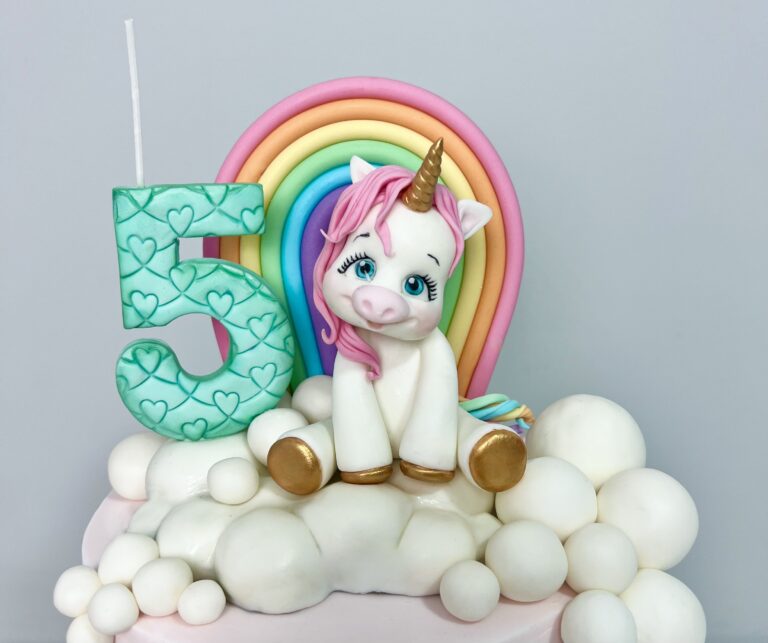
I made this cake for a wonderful friend’s little girl’s 5th birthday, and I decided to turn it into a fondant unicorn tutorial so you can make it too! Now, I’m going to provide a huge amount of info on this page about how to make a fondant unicorn. When I teach how to create fondant figurines and animals, I break it down so simply that it makes it easy to create!
Firstly, I’d never opt for ‘Beginner’ cake decorating tutorials, I mean those fondant figures that look ridiculously simple! I did this at the start and quickly realized “You can only be as good as the standard you are taught.” This is a lesson I learned the hard way when I was a beginner at creating fondant figures and wasted a huge amount of time.
Ok, I’m excited, let’s jump right in!
Making a Plaque for your Cake Toppers
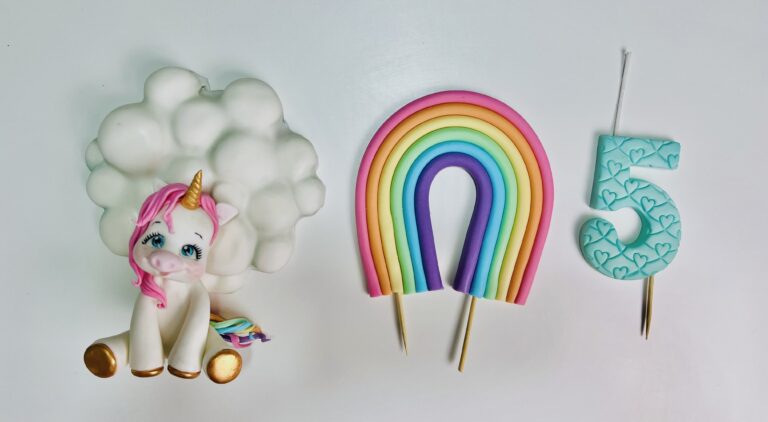
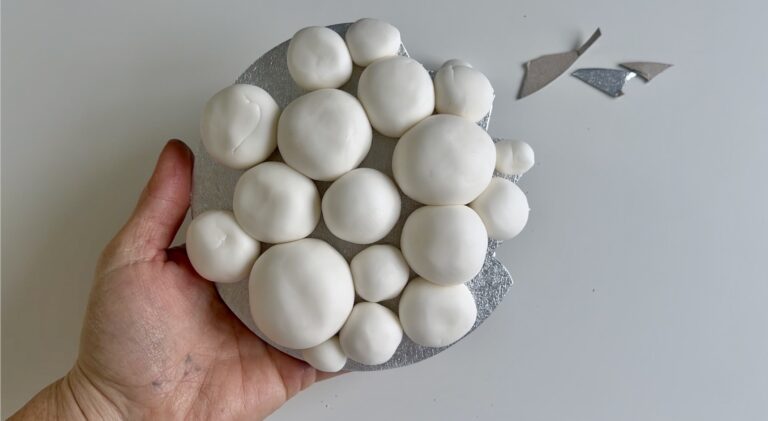
Firstly we need a nice plaque for our fondant rainbow, number candle, and unicorn, and what better base than to have big fondant white clouds? There are three reasons I chose this as the base of our cake topper:
- The clouds are thick, which means we can pop skewers in to keep all the fondant decorations in place.
- The top part of the cake is always the main feature and holds most of the fondant decorations. Isn’t it amazing to give the person receiving the cake the opportunity to keep that part after the party ends and the cake is eaten! My little boy kept the top part of his Thomas cake for years in his room and loved it!! I still have the top part of his 1st birthday cake, and it is still my favourite topper to date!
- Finally… because it looks cool! (eyes rolling as I hear my boy correcting me, “It’s lit, mum!”)
How to Make Fondant Clouds
So, here is how to make fondant clouds. You can scroll down for the video or follow the instructions below.
1. First roll lots of different-sized fondant balls and stick them down on a thin cake board next to each other. Don’t think about the placement too much; just throw them on and add a few smaller ones tapering off the sides.
Top Tip: You can even use old coloured fondant or cheap supermarket brands. Squish all the colours together, soften them in the microwave for a couple of seconds, and then roll the balls.
2. Then add vegetable fat or a small amount of water to the surface, roll out your fondant big enough to lay over the top, running the flat part of your finger in between all the grooves to make the round balls underneath show.
(If you have used coloured balls underneath, make sure the white fondant is thick enough.)
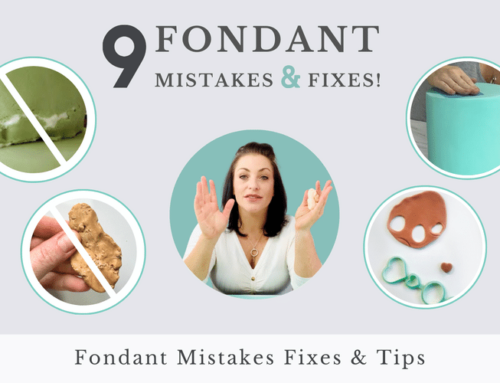
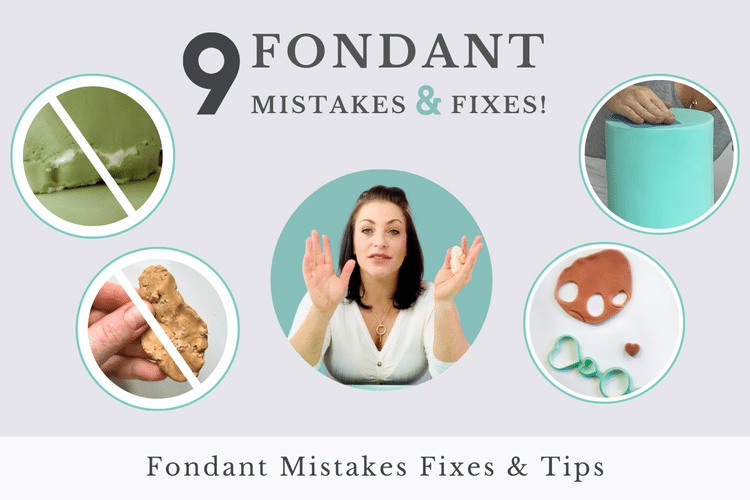
If you are new to working with fondant, check out our blog: [9 Biggest Fondant Mistakes and How to Fix Them!].
- I promise it will massively help you with all the foundations of working with fondant, including:
- How to roll the fondant out to cover cakes
- How to stop fondant drying out and elephant skin
- How to store fondant paste and decorations.
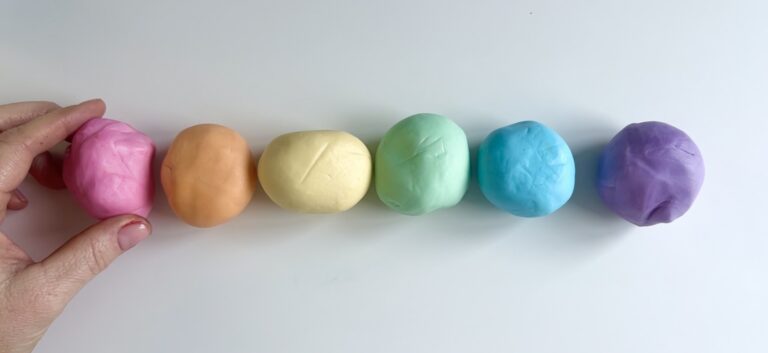
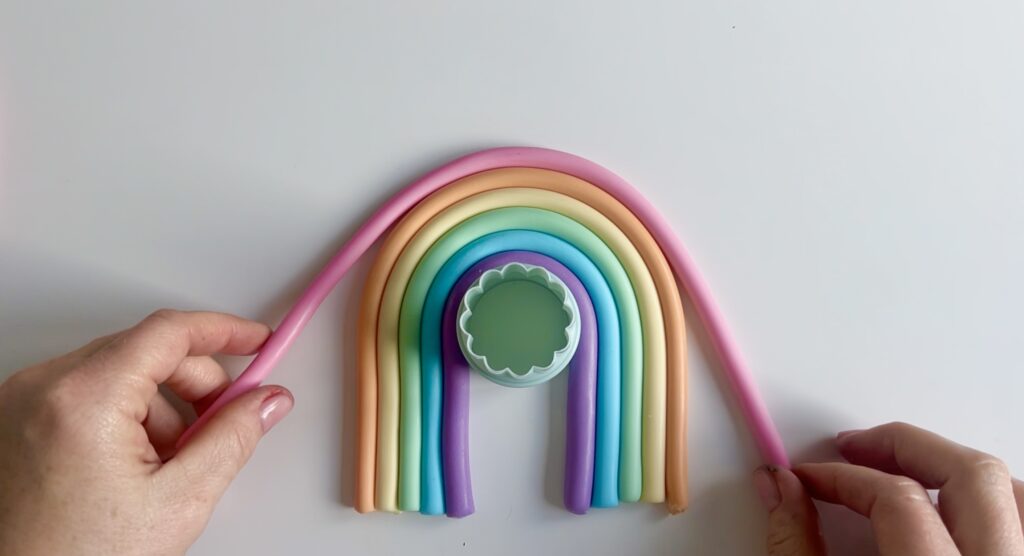
How to Make a Fondant Rainbow
We can either colour the rainbow shades by adding a small amount of paste/gel concentrated food colours to fondant (these are specialised food colours, not ones you get in the supermarket and are amazing for colouring large amounts of fondant without making your paste wet! [Sugarflair Extra are the most concentrated colours on the market I love them]. Make sure to watch the fondant Tutorial above on how to store fondant to keep it as fresh as possible for longer.
- If you are using fondant, you will want to add a little CMC.
- Then, roll long sausages with each colour with the palm of your hand or by using a cake smoother.
- Next, take each colour in order, wrapping it around a round cutter and sticking with a little water.
Push a wooden skewer in the ends and leave them to dry for a few days before attaching them to the cake.
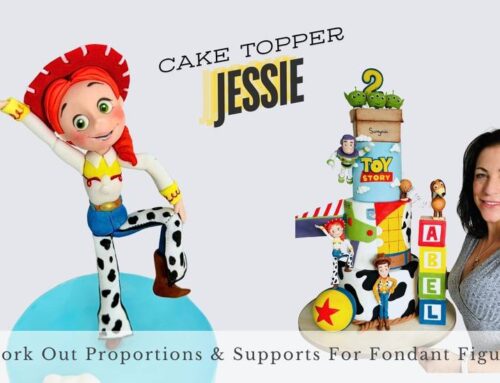
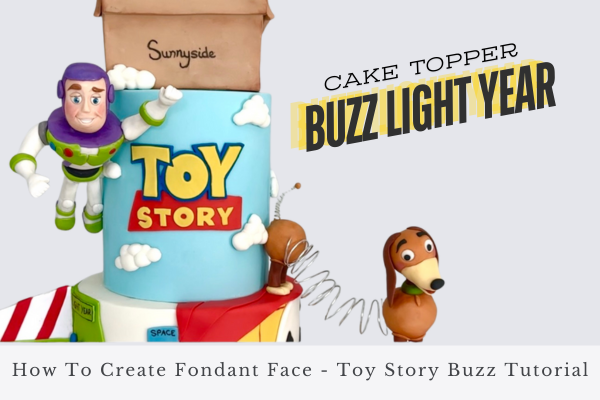
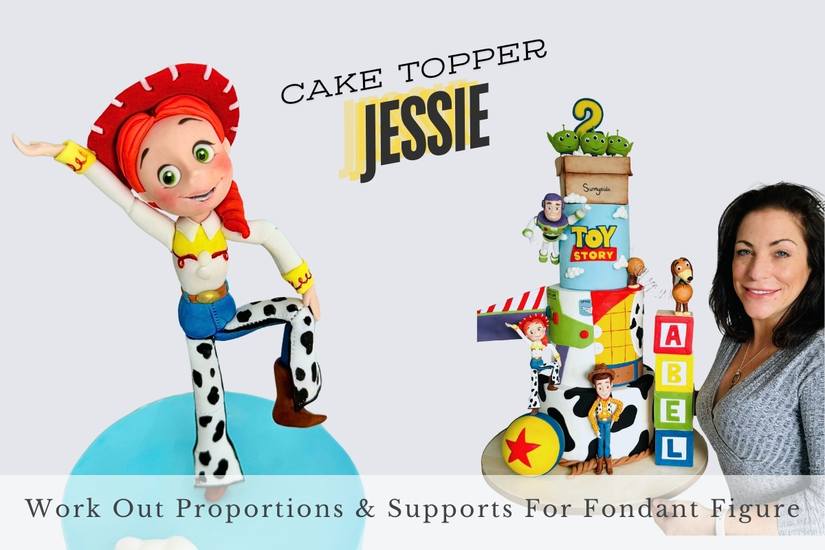
How to Make a Fondant Unicorn Cake Topper
Firstly, I want you to learn how to work with fondant and master all your simple shapes and tools! I want you to get to a level where you can create fondant figures and fondant animals super easily, so this stage should not be missed!
It will take 30 minutes of your time and will save you hours of struggling in the future. And guess what? These tutorials are free! [Rocket start your modelling journey with your 4 fondant figure tutorials here]
Ready to move on? Let’s do it!
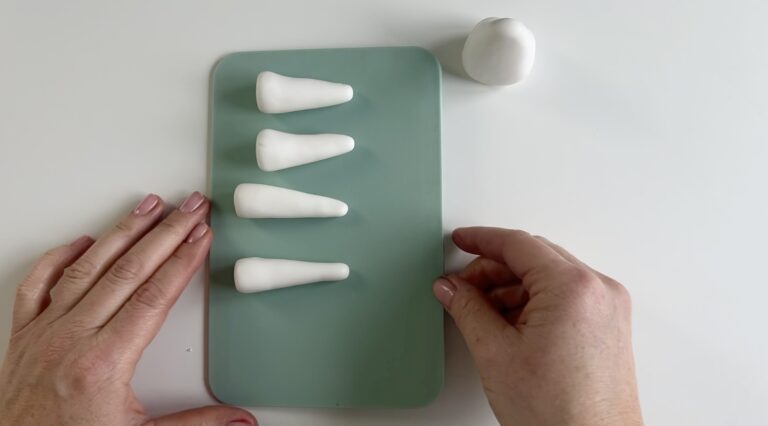
First, grab some fondant with a little CMC. If you don’t have a template including weights divide your paste-up roughly to create a body, two legs, two arms, and a head with a little spare. (Grab weights and template here.)
For the body, shape a teardrop. For the legs and arms, make tapered sausages, and for the face, shape a ball. The ears should be two teardrops. [Learn to perfect your shapes here]
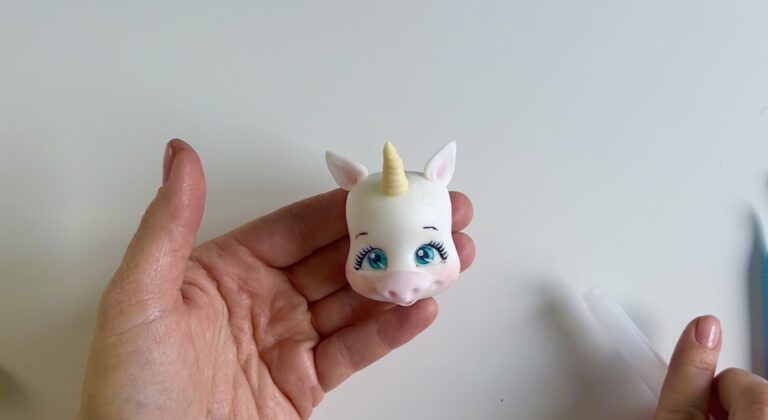
Watch the video here to follow these steps on How to Make an Easy Fondant Unicorn Cake Topper
My models changed dramatically when I realised the way to perfect fondant figure proportions is to use fondant figure templates that guide you through each body part and the weight of the fondant you start with. This ensures you get perfect fondant models every time!
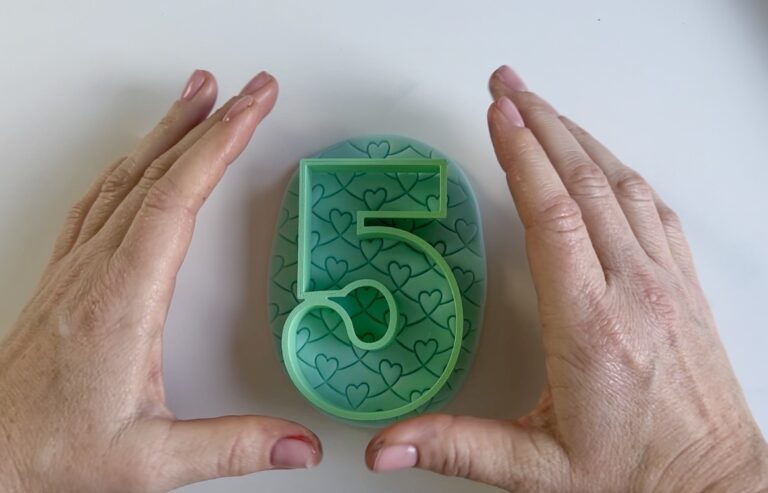
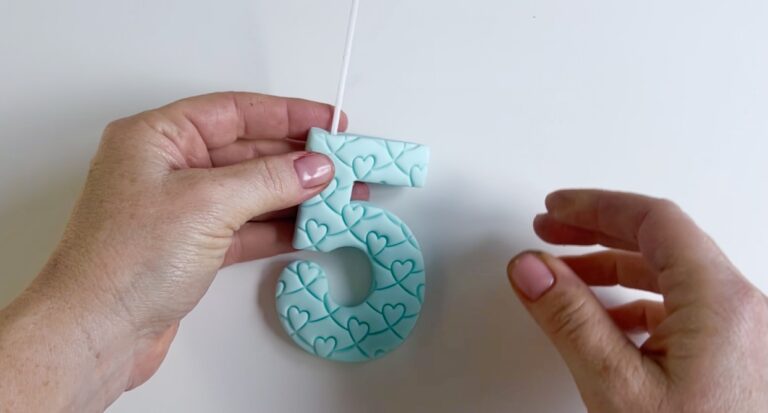
How to Make a Fondant Number Candle
First, roll out your chosen colour of fondant! I prefer to use flower paste as it dries quicker and I am impatient, haha I have to be honest! Plus, it holds better.
Next, push down a textured mat or embosser to the surface.
- Then, use the number 5 large number cutter from the Candle Cuts set and wiggle around to get perfect edges.
- Finally, add a skewer into the bottom, then push the candle wick from the set into the top and dust with a darker shade of the fondant colour with a dusting colour to create shade.
I love creating personalised fondant candles! Not only do you; “Avoid the dreaded moment where someone tries to find a spot to put candles without ruining the cake! But you get to add personalisation and create a number candle that is incorporated into the cake design and theme! Also, they take up room on the cake, which equals greater impact and less time decorating hehe! Stick with me I’ve got plenty of cheeky tricks up my sleeve!
Check out Candle Cuts! A set of large numbers that includes candle wicks and instructions on how to make them. This is not one of those things you will buy and never use; you’ll be using them with every cake design. These are a great investment!
Learn more about these cutters here [Tasteful Cakes Academy Candle Cuts].
How to Attach Fondant Pieces to the Plaque and Cake
Once you’ve created all your fondant pieces, it’s important to know how to attach them securely to the plaque and cake. I have a special video tutorial that shows you how to do this with and without glue! It’s a game changer that no one else is sharing so make sure you check out the blog and video! You can watch it here!
Join Our Sugarcraft Club!
For the full tutorial and more cake-decorating ideas, join our Sugarcraft Club! As a member, you’ll get access to exclusive tutorials, a supportive community, and special bonuses like a discount on our upcoming workbook. Members who join before the book is released will get a signed copy at a discount, and those who win ‘Project of the Month’ or participate regularly will be featured on the thank you page.
You’ll also gain access to our online decorating courses, free fondant tutorials, and free templates to help you create amazing cakes. We offer fondant figure classes that are perfect for anyone wanting to learn how to make fondant figures for cakes at whatever level you are at!
Ready to take your cake decorating skills to the next level? Join our Sugarcraft Club today and start creating stunning cake decorations that always impress!
All material and equipment I have used you can purchase by clicking the underlined links throughout the text! For Tasteful Cakes Academy Product Range make sure to sign up below and grab yourself a 15% discount!
Any questions leave me a comment I am here to help!
Happy Caking!!
Christina x


Leave A Comment