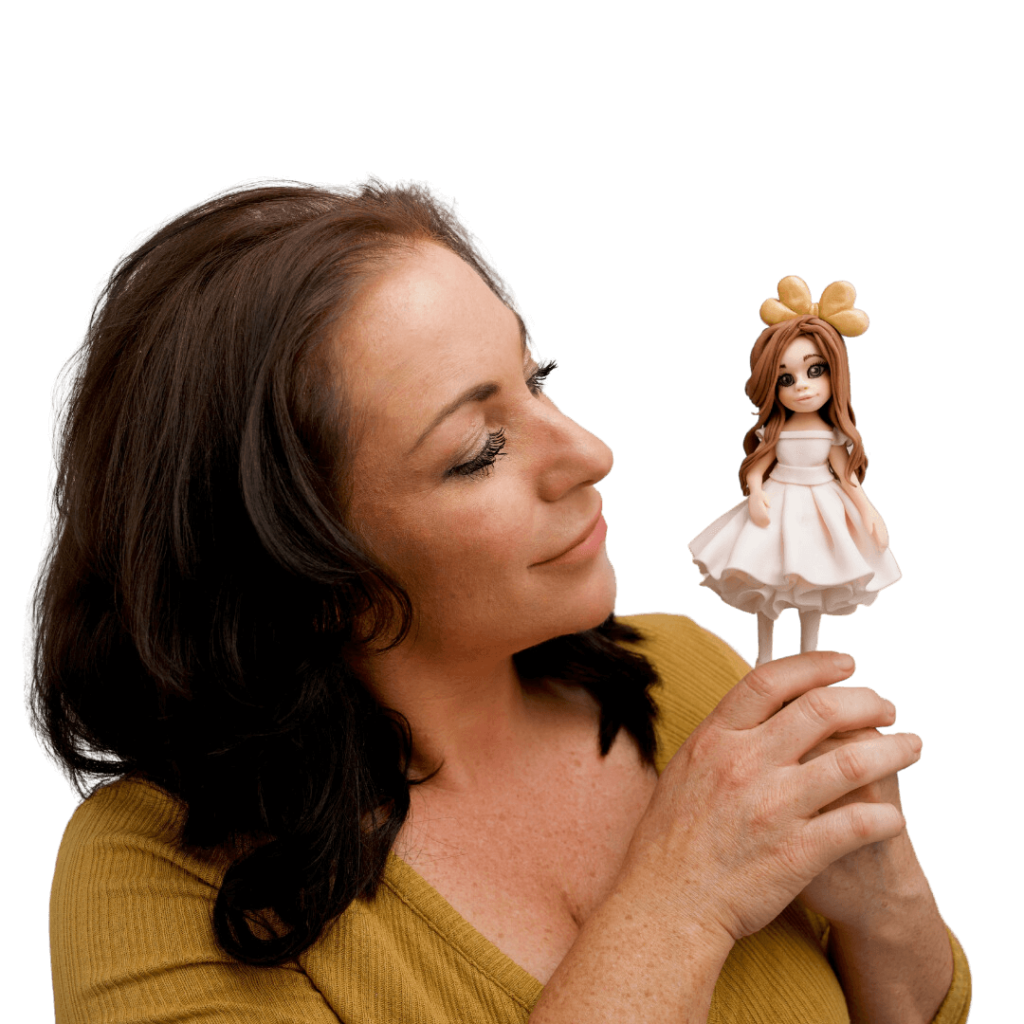
 Those of you that have seen my work will know that making Sugar Figurines is one of my favorite things to do, as I love how personal they can be. I am constantly asked countless questions about modeling, but the one thing that seems to come up time again and that people seem to find the hardest thing to master is making a face.
Modeling paste:
There is no right or wrong answer when choosing a paste for making sugar figurines. However, there are pros and cons. But generally its about finding a paste that is right for you that you feel comfortable to work with, but just to give you a better understanding I’ll go through a couple of options.
So, as my models aren’t usually eaten and seemed to be – made, displayed and kept. My personal favorite is ⅓ sugar paste to florist paste. I like to work with this as the models I make need to have strength, keep their shape, dry harder and last longer.
Sugar paste mixed with CMC or Gum Trag is also another option when making sugar models and is far more cost effective and great if it’s going to go on a childrens cake and thus likely to be eaten. The bad point is, you really have to need the paste well before using it to get the gums working. If you didn’t, when your model drys you would start to see cracks which can be very frustrating after spending hours on your beautiful masterpiece.
Face Moulds:
Lots of people use them, I don’t as I don’t see the point. You are an artist and anything you produce is a work of art! If you are going to use them, I can tell you the best one on the market I have seen is Carlos Lischetti’s. They are fab and you can purchase them from Squires Kitchen Shop.
Modeling the Face:
Top Tip – Before you decide on the amount of paste you will use for the head, understand that it will determine the size of the body
1. Take a piece of skin tone paste and roll into a ball and into a cone.
2. Flatten the cone slightly with the palm of your hand.
3. Using the side of your hand stroke along the center of the face to make a light indentation.

4. Push the eyes in with a ball tool, positioning the eyes slightly below the center of the face, at the bottom of your indentation.
Putting the eyes below the line will make the character appear younger and cutter
5. For the Nose- roll a small amount of skin tone paste into a ball, flattening the nose underneath as you attach it to the face with the sugar glue.
6. For the lips – roll a small ball of paste and flatten it as you glue it below the nose. Hold the face with your finger at the top and your thumb under the chin and push a toothpick straight through the center, pull down and then glide out at an angle from the bottom lip.

7. For the Eyes- Add sugar glue into the eye sockets and roll 2 small balls of white sugar paste. Drop the balls into the sockets and then push a small ball tool into the bottom of the eyeballs. Repeat this method using your chosen eye colour and black for the pupil but this time flattening the ball with your finger.

8. For the Eyelids- roll a small amount of skin tone paste into a ball and then into a sausage. Flatten with your fingers and then carefully cut straight down the middle. Attach each eyelid with sugar glue slowly manipulating it with a paintbrush to match each side.

9. To make the ears – make a hole on each side of the face towards the back of the face but inline with the base of the eye using a toothpick adding a small amount of glue. Then roll 2 small skin tone balls into a cone shape and then flatten the larger side of the cone. Insert the tip of the ear into the head. Move the head to the edge of the table and place one finger underneath the ear and push the ball tool into the ear and slightly into the side of the face repeat this on the other side.
10. With a small tip paintbrush, paint on the eyelashes and the eyebrows using the chestnut food colour.
11. Lastly, create blushed checks by dusting them with a brush using the peach edible dusting color.
Tip: To make the eyes shine add a little confectioners glaze with a brush.
I hope you find this little post helpful. Please feel free to write me a comment and share your thoughts. I would love to hear them.
I run classes and demonstrations throughout the year on Sugar modeling. If you are interested in coming along to a class or event please take a look at my Calendar.
For updates, on classes, Events, ideas and my latest Sugar Art, please Join me on Facebook!
